

Your phone's camera takes beautiful photos. The problem? Each one is 3-5MB. WhatsApp compresses them into blurry mush. Gmail blocks anything over 25MB. Government portals reject uploads over 500KB.
Image compression is the solution - but most online compressors force you to upload your photos to their server, creating privacy risks for your personal or business images. Here's how to compress images instantly on your own device.
Why Online Image Compressors Are a Privacy Risk
When you upload a photo to a third-party site to compress it, that image - whether it's a family photo, a product shot, or a document scan - travels to and lives temporarily on their server. Most companies say they delete files automatically, but you have no way to verify this.
For sensitive document images (Aadhaar card, PAN card, passport, salary slips), this is a genuine risk. Your ID data shouldn't be on someone else's infrastructure.
The alternative: compress directly on your own device using your phone's own processing power. No upload, no waiting, no privacy concerns.
Try the Local Image Compressor:
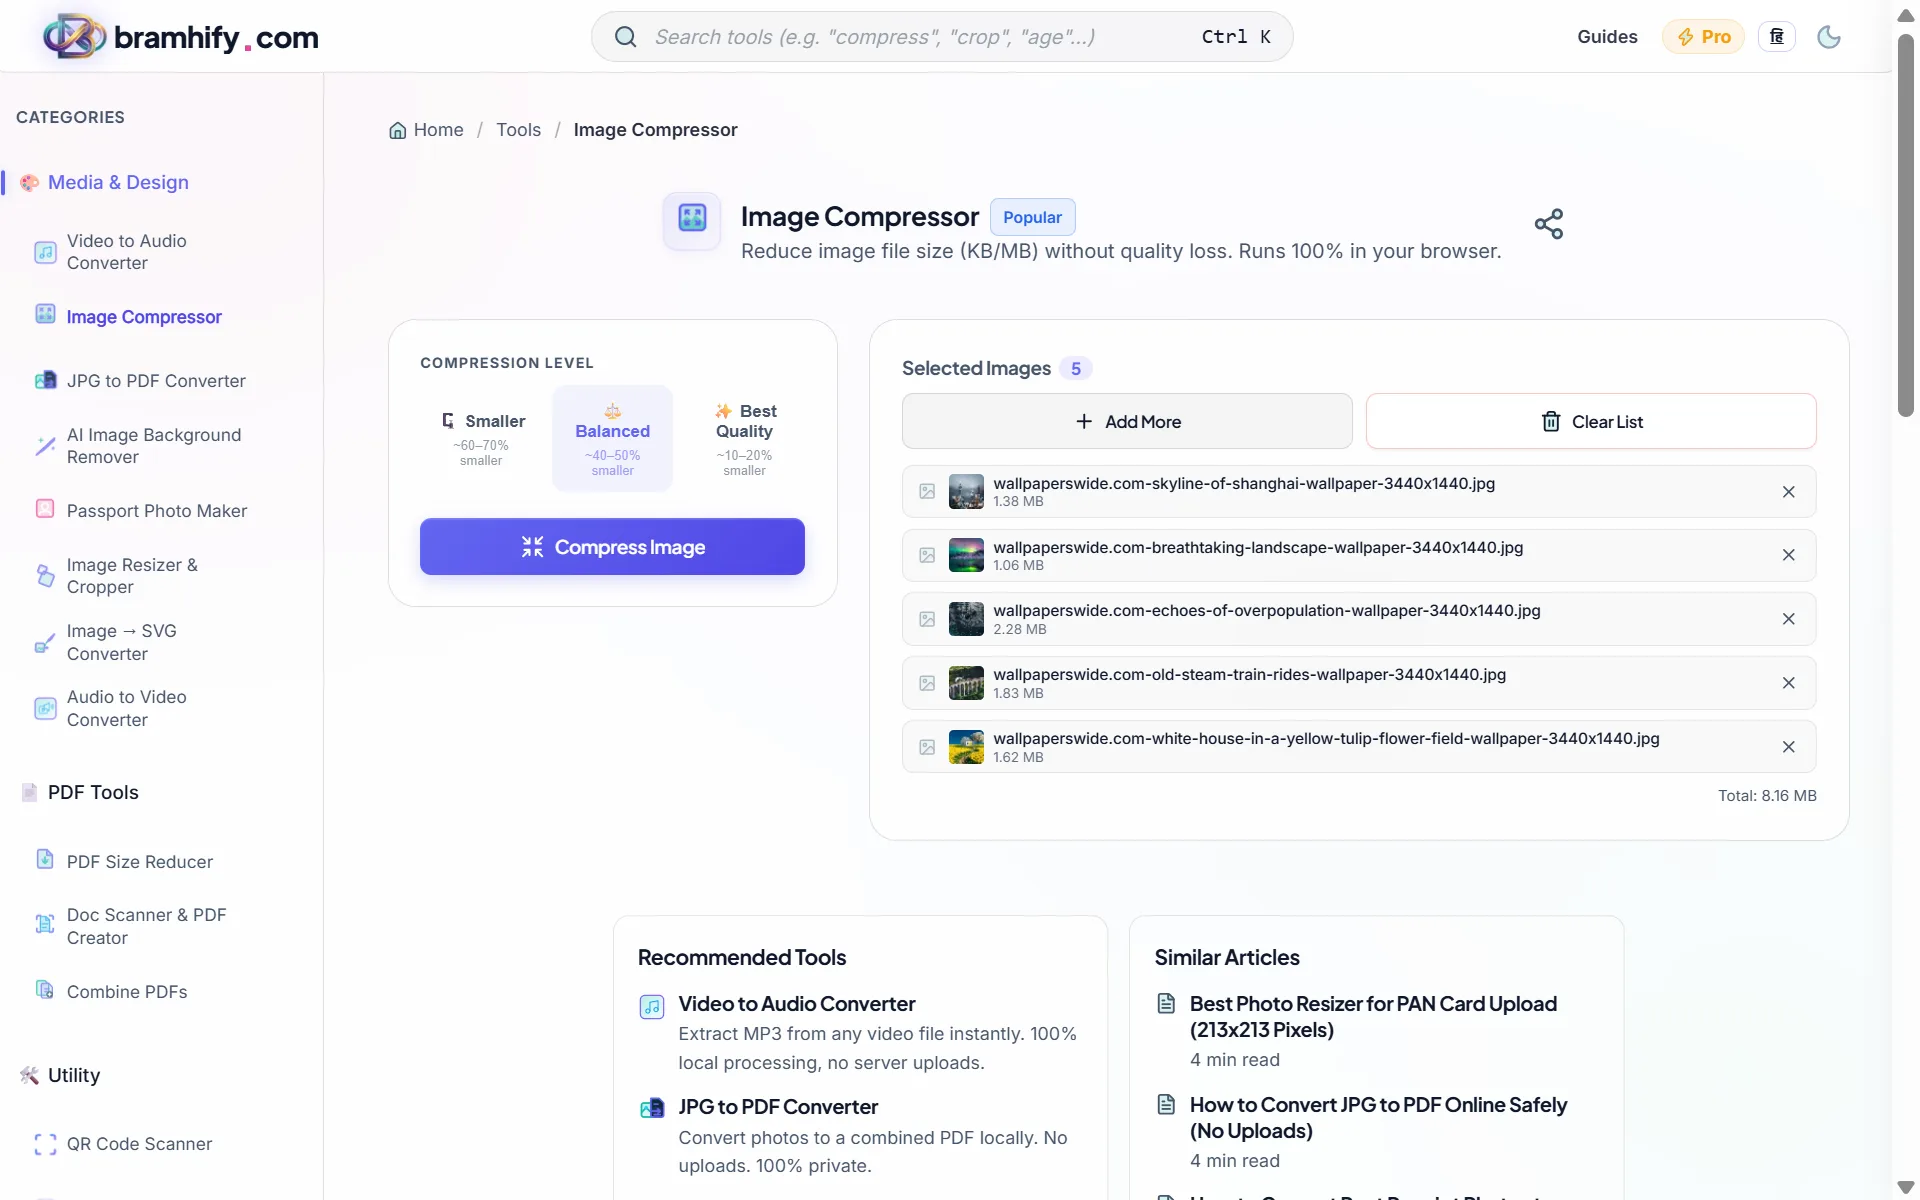

Step-by-Step: How to Compress an Image
Step 1: Open the Tool and Select Your Image
Tap the tool card above to open the Image Compressor. Tap the large upload box in the center. Your phone's gallery will open. Choose the photo or image you want to compress - it can be a JPG, PNG, or WEBP file.
Step 2: Set the Quality Level
Once the image loads, you'll see a quality slider. Slide it left to reduce file size more aggressively (lower quality) or right to preserve more detail (larger file size).
For most photos - family pictures, product shots, blog images - a quality setting of 70-80% is the sweet spot. The image looks identical to the naked eye but the file is 60-80% smaller.
For official documents like Aadhaar or PAN cards, use 60-70% - government portals need the text to be readable, and this range keeps it sharp while hitting the 500KB size limit.
Step 3: Check the Live Preview
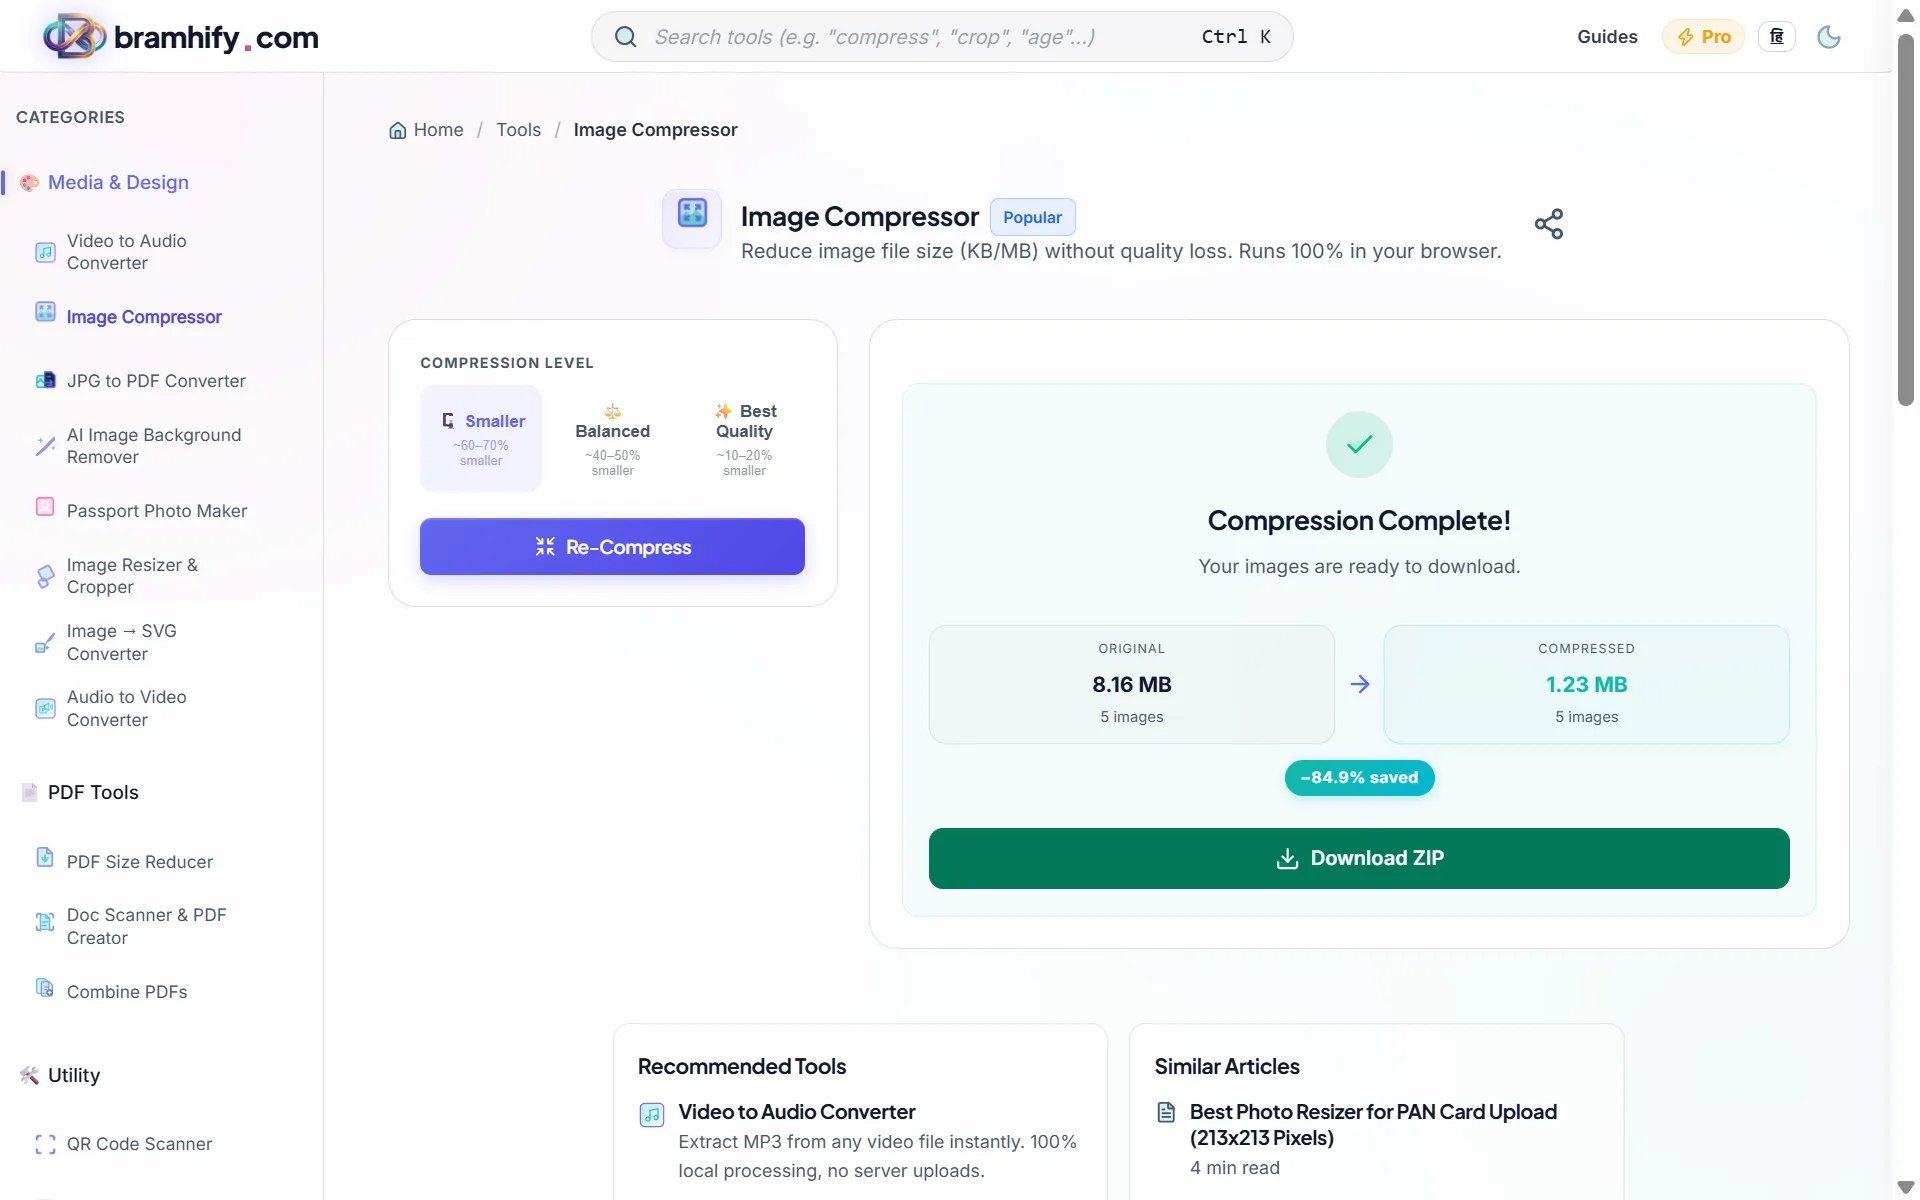
Before downloading, look at the before/after preview side by side. The tool shows you the compressed file size in real time as you adjust the slider. Make sure the compressed version still looks clear - no blurring, no blocky artifacts around text.
Step 4: Download the Compressed Image
When you're happy with the result, tap Download. The compressed image saves to your phone's Downloads folder. You're done - ready to upload, email, or send on WhatsApp.
Understanding Compression: Lossy vs Lossless
Lossy compression (recommended for most use cases) permanently removes some image data - specifically, details too fine for the human eye to notice. The result: massive size reduction with no visible quality loss. This is what JPEG compression does.
Lossless compression reduces file size without removing any pixel data. It finds more efficient ways to store the same information. The tradeoff: size reduction is small, typically 5-15%.
For 99% of everyday use cases - sharing photos, uploading documents, website images - moderate lossy compression (quality 70-80%) is the best choice.
When to Compress
Before uploading to government portals: Passport Seva, UIDAI, income tax, and bank account opening forms typically reject images over 500KB or 1MB. Compress first, then upload.
Before sending on WhatsApp: WhatsApp's own compression is aggressive and often blurs important details in document photos. Compressing yourself at 70-80% quality before sending gives you control over the output.
Before emailing: Gmail and most email clients struggle with attachments over 10-15MB. Compress images before attaching to keep emails deliverable.
For website or social media: Page load speed directly affects Google rankings. Images should ideally be under 200KB for web use.
For document-specific compression guides, see how to compress an Aadhaar card photo under 50KB.