

Have you ever wanted to share a voice memo, a song snippet, or a podcast clip on Instagram Reels, YouTube, or TikTok, only to realize they don't accept audio files? Video-first platforms require MP4 formats, leaving many creators frustrated as they search for complicated editing software just to add a simple background image to their audio.
This guide will walk you through exactly how you can turn your audio tracks into shareable videos in just a few minutes, without downloading heavy software, spending money, or risking your data privacy on shady websites.
The Hidden Risk of Online Audio Converters
When you search for "audio to video converter" on Google, you will find hundreds of websites promising to do this for free. However, most online converters require you to upload your personal audio files - whether it's an unreleased music track, a confidential podcast draft, or a private voice note - directly to their cloud servers.
This exposes your data to massive privacy risks. Once you upload an audio file to a remote server, you have zero control over who might listen to it, how long it is stored, or whether it might be leaked or misused. Furthermore, uploading a large MP3 file to a remote server, waiting for it to process in a queue, and then downloading a massive MP4 video wastes a tremendous amount of time and internet bandwidth.
If you are on a limited mobile data plan, converting a 10-minute podcast episode online could eat up hundreds of megabytes of data.
Bramhify provides a completely different approach. Our Audio to Video Converter runs entirely within your browser using advanced local processing (WebAssembly). Your files never leave your device, ensuring 100% privacy and lightning-fast conversion speeds without server wait times.
Audio to Video Converter:
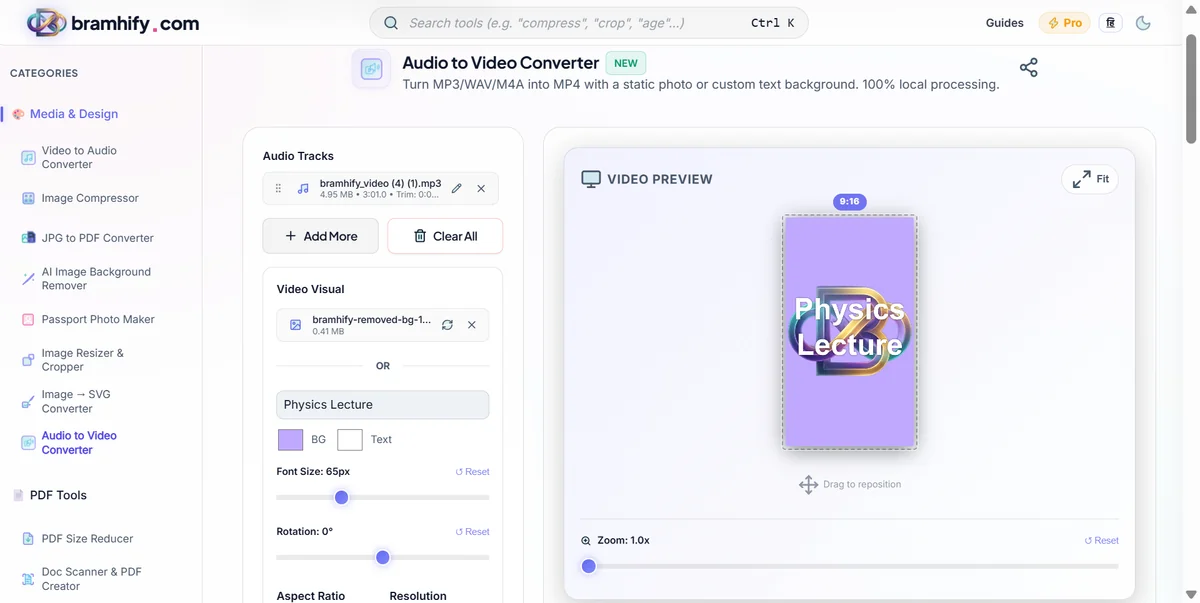
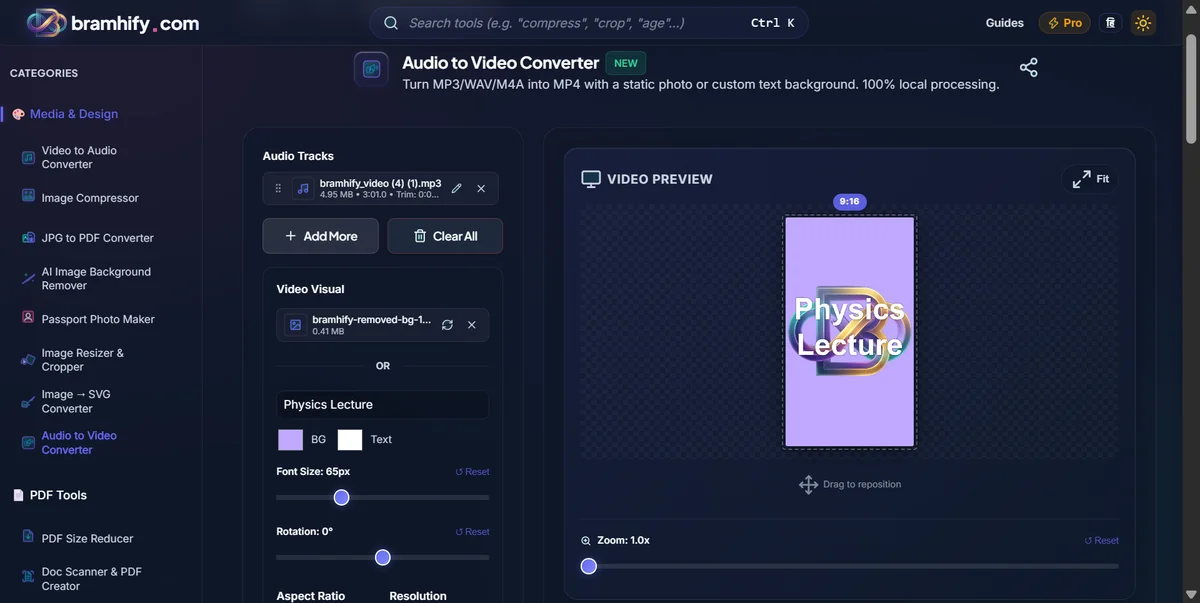

Step-by-Step Guide
Converting your audio into a shareable video takes just a few taps directly on your device. Let's break down the process from start to finish.
Step 1: Upload Your Audio Track
Tap the upload area to select your MP3, WAV, or M4A audio file. You can upload files straight from your device's file manager or iCloud Drive. What makes this tool special is that you can even upload multiple audio files to stitch them together seamlessly. If you only want to share a specific 30-second snippet of your audio, simply use the built-in trimming tool to cut the track down to the perfect length before generating the video.
Step 2: Choose Your Background Visual
Decide what your audience will see while listening. Since platforms like YouTube and Instagram require a visual element, you need a background. You can upload a custom photo - like your podcast logo, a selfie, or album art. Alternatively, if you don't have an image ready, simply type in some custom text (like the name of your podcast episode) to act as a dynamic background. You can drag and reposition the image directly on the interactive preview canvas to frame it perfectly.
Step 3: Select Your Aspect Ratio
Before generating the video, you need to choose the right format for your destination platform. Different social media networks require different video sizes. Select 16:9 (Landscape) for a standard YouTube video or desktop viewing. Select 9:16 (Portrait) for a TikTok, YouTube Short, or Instagram Reel. Or, select 1:1 (Square) for a classic Instagram grid post. The tool will instantly adapt your background image to perfectly fit the chosen layout without stretching or distorting it.
Step 4: Generate and Download
Once you are happy with the preview, tap the Generate button. Watch the progress bar as your device seamlessly processes the MP4 video locally using WebAssembly. Because there is no uploading involved, the speed depends entirely on your phone or computer's processor. Once it's done, tap download to save the MP4 straight to your camera roll or downloads folder. That's it! You're done.
Understanding Audio and Video Formats
You might be wondering which formats work best for this process. The Bramhify Audio to Video Converter supports almost all common audio types, including MP3, WAV, AAC, and M4A.
MP3: The most common format, perfect for voice notes and podcast episodes due to its compressed size.
WAV: Uncompressed, high-fidelity audio. Best for musicians uploading their tracks to YouTube where audio quality is paramount.
M4A: Often created by Apple devices and native voice recording apps.
Regardless of what audio format you input, the tool will automatically output an MP4 video file. MP4 is the universal standard for video on the internet, meaning you can guarantee it will upload successfully to Instagram, YouTube, TikTok, X (Twitter), Facebook, and WhatsApp without any compatibility errors.
Common Use Cases
There are endless reasons why you might need to convert audio to video. Here are some of the most popular ways creators use this tool:
- Podcasters creating Audiograms: Instead of just posting a link to Spotify, podcasters take 60-second highlight clips of their show, slap their podcast cover art in the background, and post it to Instagram Reels to grab attention.
- Musicians on YouTube: Independent artists often have raw MP3 bounces of their unreleased songs. By putting their album art behind the audio, they can instantly get their music onto YouTube to start building an audience.
- Voice Notes on WhatsApp: If you want to share a funny or important voice recording on WhatsApp Status, you have to turn it into a video first. This tool lets you pair the recording with a selfie and share it in seconds. For a detailed walkthrough on this specific use case, read our guide on how to convert voice recording to MP4 for WhatsApp Status.
- Student Presentations: Students often record voiceovers for their projects but need a video file to submit to their school portal.
Frequently Asked Questions (FAQs)
Does adding an image to audio reduce the sound quality?
No, our tool maintains the exact audio bitrate and fidelity of your original file. The processing engine simply wraps your audio and image into an MP4 container without compressing or downsampling the audio track.
Is my audio file uploaded to your servers?
Absolutely not. The Bramhify Audio to Video Converter runs entirely locally in your browser using WebAssembly. This means your private voice notes, unreleased music, or confidential recordings never leave your device.
Can I do the reverse and extract audio from a video?
Yes! If you have an MP4 video but only need the MP3 audio track, you can use our reverse tool. Learn more in our dedicated guide on how to extract audio from video without uploading.
Is there a limit to how long the audio can be?
Because the processing happens on your own device, there are no artificial server-imposed time limits. However, extremely long audio files (like a 3-hour podcast) will require more processing power and memory from your device to generate the final MP4.
Creating engaging video content from your audio tracks doesn't require expensive software, complex timelines, or risky cloud uploads. Give the Bramhify tool a try today and elevate your social media presence!