

You have just taken the perfect photo of a product to sell online, or perhaps a great selfie for your professional profile. There is only one problem: the background is messy and distracting. You need a clean, transparent cutout to place over a white background or a custom design.
For years, the only way to achieve a professional cutout was to purchase expensive software like Adobe Photoshop and spend hours manually tracing the edges of your subject with a digital lasso. Today, AI can do this instantly. But finding a truly free tool online often leads to a frustrating experience.
In this tutorial, we will show you how to remove an image background for free using advanced AI, without needing technical skills, and without giving up your privacy.
The Hidden Risk of "Free" Online Background Removers
If you search for a free background remover, you will find dozens of websites claiming to do the job. However, once you upload your photo, you usually discover the hidden catch.
Many cloud-based tools limit your downloads. They might let you remove the background, but when you click save, they force you to create an account, pay a subscription, or download a low-resolution version covered in watermarks.
Furthermore, there is a significant privacy risk. When you use a cloud service, your personal photos are uploaded to their remote servers for processing. Whether it is a selfie or a picture of your family, your private images are sitting on a third-party server. They could be stored, analyzed, or used to train other AI models without your explicit consent.
You should not have to sacrifice your privacy or pay a monthly fee just to make an image transparent.
The Bramhify Solution: Private, On-Device AI
What if you could get the power of Photoshop-level AI directly on your phone or computer, without ever uploading your photo to the internet?
The Bramhify AI Image Background Remover does exactly that. We use an advanced, lightweight neural network (called U2Net) that runs entirely inside your web browser. When you select an image, the artificial intelligence processes it using your device's own memory and processor.
Your photos never leave your device. Because there are no server costs, the tool is 100% free with no watermarks, no sign-ups, and no limits on the resolution of your downloads.
Remove Your Image Background Here:

Step-by-Step Guide
Follow these easy steps to get a perfect transparent cutout of your image in seconds.
Step 1: Open the Background Remover
Tap the tool card above to launch the Bramhify AI Image Background Remover. You do not need to install an app; it works instantly right in your browser window.
Step 2: Upload Your Image
Tap the massive upload box in the center of your screen. This will open your device's photo gallery or file manager. Select a picture where the main subject (like a person, a car, or a product) is clearly visible and somewhat distinct from the background.
Step 3: Let the AI Process the Image
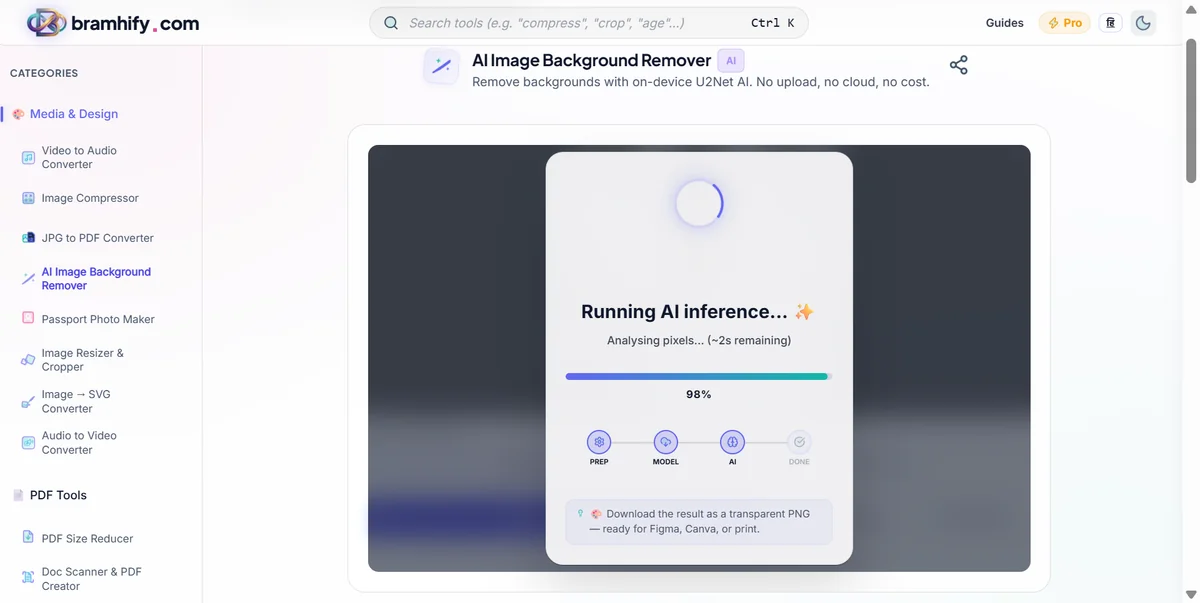
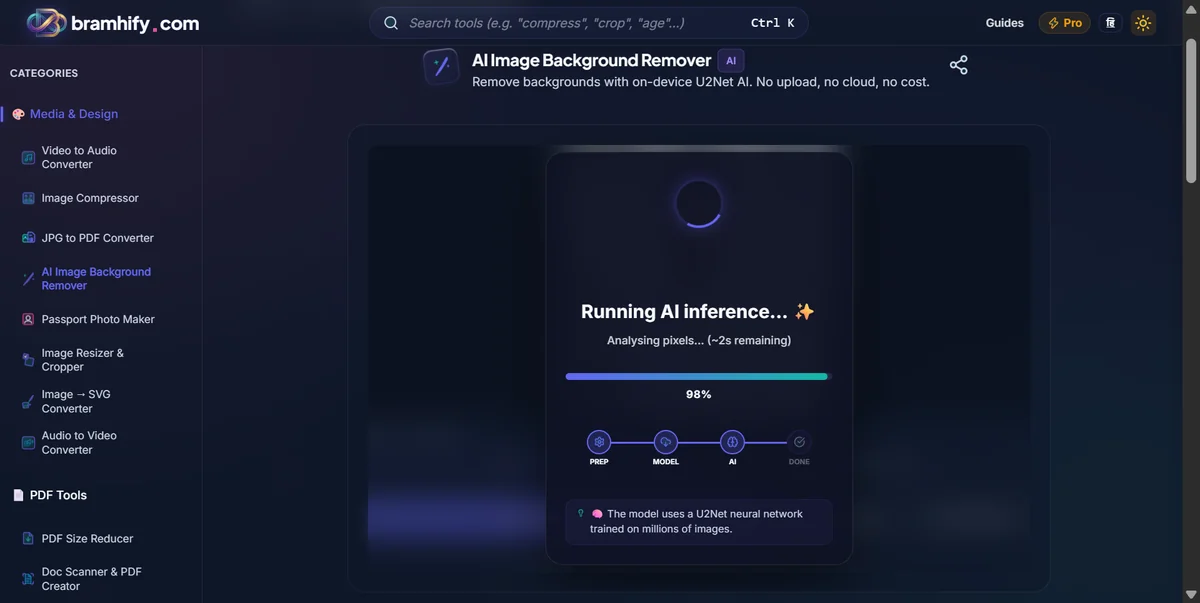
Once you select the photo, take your hands off the keyboard! A loading spinner will appear on the screen. During this time, the artificial intelligence is carefully tracing the complex edges of your subject, analyzing hair, clothing, and sharp angles.
Since the AI is running locally on your device, this usually takes about 5 to 10 seconds, depending on how powerful your phone or computer is.
Step 4: Download Your Transparent PNG
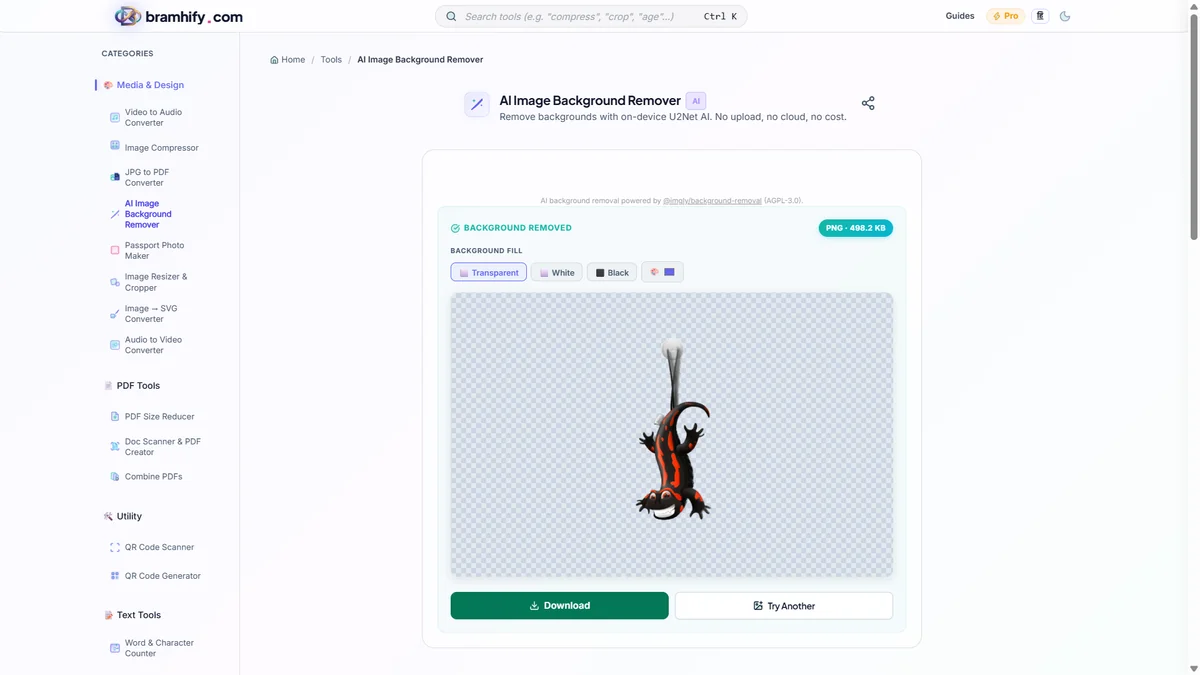
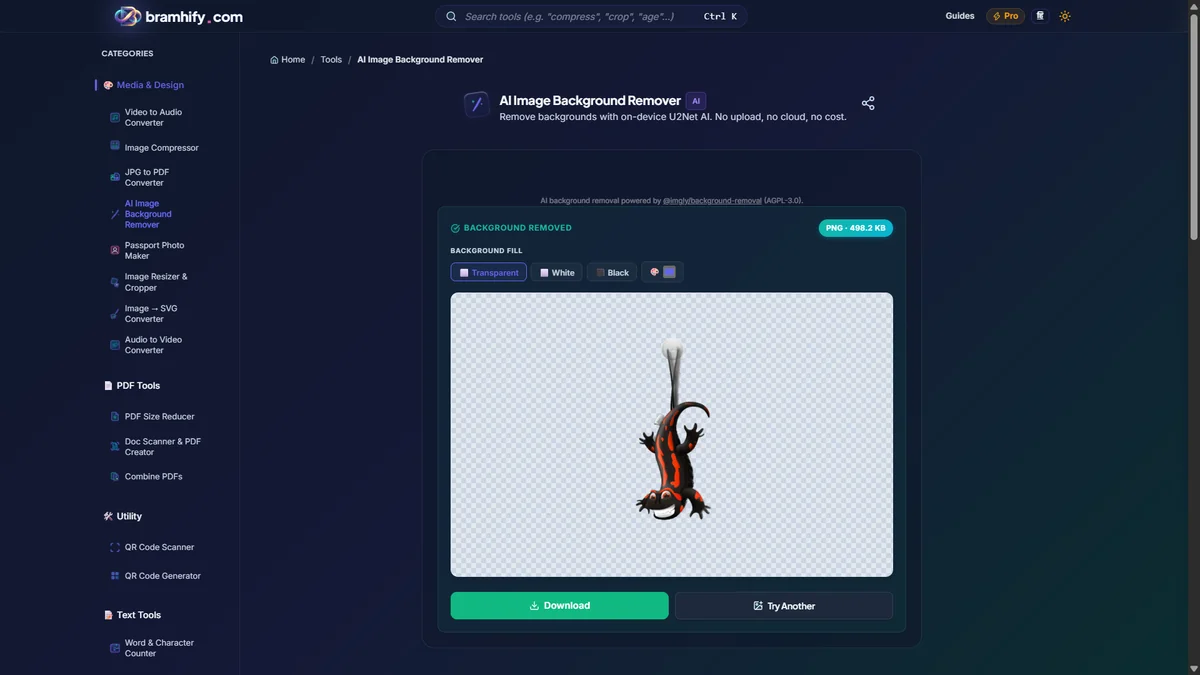
When the processing finishes, you will see your picture appear with a checkered pattern behind it. In digital design, this checkered pattern means the background is completely transparent!
Tap the download button. The image will be saved to your device as a PNG file, preserving the transparent background and the original high-quality resolution.
You can now use this transparent image in your presentations, upload it to an online marketplace, or paste it over a new background.
Next Steps for Your Images
Once you have your clean cutout, you might find that the PNG file size is a bit large, especially if you plan to use it on a website or send it via email. If you need to make the file lighter while keeping it transparent, check out our guide on how to compress images without losing quality.